Webview Documention
WEBVIEW APP
Created: 12/15/2022
By: MIAN DEVELOPER
Email: cht03484@gmail.com
Thank you for purchasing this WEBVIEW item from us, please follow this documentation guide to do every basic change in the template. This documentation guide is made simple so that every customer can do the required changes in this Android source code. Thank you.
Table Of Contents:
- Project Impot Android Studio
- Change Android Packaje Name
- Change App NAme
- Change App URL
- Important Project Android Studio
 |
| Select folder |
- Change Android Packaje Name
Make sure the “Compact Middle Packages” option is not ticked in “Options Menu”
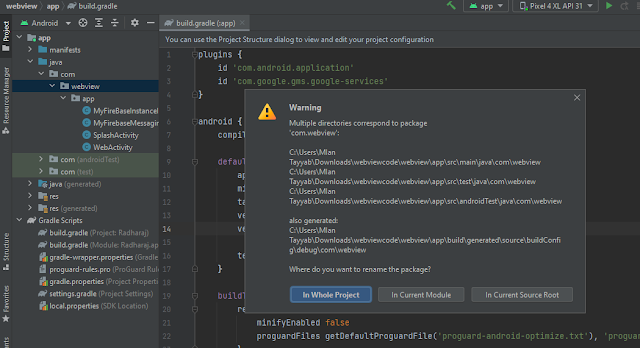
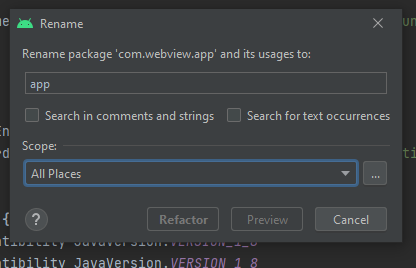
Click “Refactor” and then “Rename”:
Enter new name:
Select All Places
Click “Refactor”:
Click right on the next folder to refactor it too:
Click “Do Refactor”:
Open build.gradle (Module: app) file:
Make sure the applicationId is the new package name:
After the project is cleaned, go to “Built” again and click on “Rebuild Project”
Change App Name
Go to strings.xml file:
Change App Name
.png)

.png)


.png)


.png)


.png)


